Alto-professional Stealth Wireless Expander Pack Manuel d'utilisateur Page 8
- Page / 40
- Table des matières
- DEPANNAGE
- MARQUE LIVRES
- User Guide (English) 3
- Transmitter Features 4
- Receiver Features 5
- Connection Diagrams 6
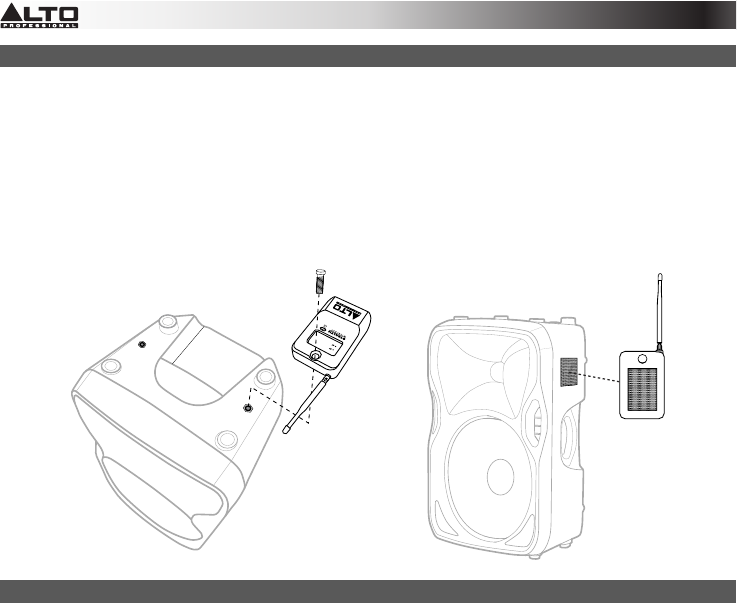
- Speaker Mounting Diagram 8
- Troubleshooting 8
- Guía del usuario (Español) 9
- Panel trasero 10
- Panel frontal 10
- Características del receptor 11
- Diagramas de conexión 12
- Solución de problemas 14
- Présentation 15
- Panneau arrière 16
- Panneau avant 16
- Panneau latéral 17
- Panneau inférieur 17
- Schémas de connexion 18
- Guide de dépannage 20
- (Italiano) 21
- Pannello posteriore 22
- Pannello anteriore 22
- Pannello inferiore 23
- Pannello laterale 23
- Schema dei collegamenti 24
- Risoluzione di problemi 26
- Benutzerhandbuch (Deutsch) 27
- Rückseite 28
- Vorderseite 28
- Unterseite 29
- Seitenteil 29
- Anschlussübersicht 30
- Fehlerbehebung 32
- Inleiding 33
- Eigenschappen van de zender 34
- Onderpaneel 35
- Voorpaneel 35
- Zijpaneel 35
- Verbindingsschema's 36
- Montageschema luidspreker 38
- Problemen oplossen 38
- Appendix (English) 39
- Wireless Frequency Ranges 39
- Technical Specifications 39
Produits connexes et manuels pour Casques d'écoute sans fil Alto-professional Stealth Wireless Expander Pack


 (60 pages)
© 2020, manymanuals.fr. Tous droits réservés | 1.331 s |
 Manymanuals.com
 Manymanuals.de
 Manymanuals.fr
 Manymanuals.it
 Manymanuals.pl
 Manymanuals.cz
 Manymanuals.es
 Manymanuals-pt.com
Commentaires sur ces manuels